mainstreetlawn
How to Program an Irrigation Timer Controller
In this post you’ll learn how to program an irrigation timer controller for your sprinkler system. We’ll be referencing a Hunter Pro-C sprinkler irrigation controller timer since most newer homes landscaping in the North Dallas area use this model. While there are small differences between controllers, most use the exact same program operation as this tutorial with different dials or buttons on the face panel.

Install Back-Up Battery
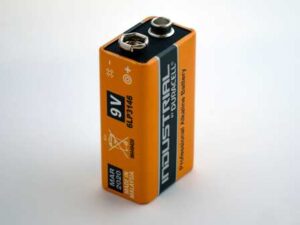
Having a back-up battery installed in your sprinkler system controller will save programming and power the LCD display in the event of a power outage. Most irrigation controller timers use a CR2032 lithium battery or 9v alkaline battery that may need replaced annually when you have an irrigation tech out for sprinkler system repairs.
– Turn control dial to the “System Off” setting
– Open the face panel
– Install new back-up battery behind face panel
– Close the face panel

Set Current Date and Time
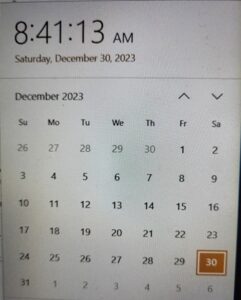
Setting the current date and time allow your irrigation timer to run programs on the schedule you set in the programming.
– Turn control dial to set “Current Date/Time” setting
– Use the +/- buttons to adjust date and right arrow to advance through year/month/day
– Use the +/- buttons to adjust time and right arrow to advance through hour/minute and am/pm
– Turn control dial to the “System Off” setting

Set Program Start Times
The irrigation controller has 3 programs labeled as A/B/C. Each individual program also allows for 4 separate start times. Setting multiple schedules with various start times allows you the flexibility to program separate schedules for parts of your lawn or landscaping where the needs are different. For example, you may wish to water your sod according to a schedule meant for sprinkler heads while your landscaping plants are watered with drip irrigation. The programs can be selected using the oval PGM button just below the right arrow button located in upper right corner of the face panel.
– Turn the control dial to set “Program Start Times”
– Use the PGM button until program A appears on the LCD display
– Use the +/- buttons to adjust time and right arrow to advance through hour/minute and am/pm
– Repeat steps 2 and 3 from above to set program start times for programs B/C
– Turn control dial to the “System Off” setting

Set Station/Run Times
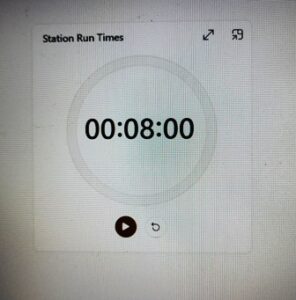
A sprinkler station, or sprinkler zone are the same. Each station/zone corresponds to a different area of the yard. Most controllers have 4-8 stations and can be upgraded by adding expansion modules inside the enclosure just behind the face panel door. Setting a station run time tells the controller how long you want each sprinkler head or drip line to run in each of the stations. Applying the correct amount of water to each of the stations will help save money on landscaping plants replacements and your water bill.
– Turn the control dial to set “Station/Run Times”
– Use the PGM button to select the correct program A/B/C
– Use the +/- buttons to adjust time and right arrow to advance through hour/minute and am/pm
– Use the right arrow button to advance through the stations until all station run times are set
– Repeat steps 2, 3, and 4 from above to set station run times for programs B/C
– Turn control dial to the “System Off” setting

Set Days to Water
The controller will only run the irrigation system on the days you set it to water. Each of the programs A/B/C can be set to water any day(s) of the week you select from Sunday through Saturday.
– Turn the control dial to set “Days to Water”
– Use the PGM button to select the correct program A/B/C
– Use the +/- buttons to set watering on/off for each day of the week and right arrow to advance through each day
– Repeat steps 2 and 3 from above to set days to water for programs B/C
– Turn control dial to the “System Off” setting

Set Pump Operation
Each station/zone has a pump or valve that controls water to each station. Any pump used for irrigation should be set to ON just as you would turn a light switch on to light a room in your home.
– Turn the control dial to set “Pump Operation”
– Use the +/- buttons to turn pump on/off and right arrow to advance through each pump
– Turn control dial to the System Off setting

Set to Run
Setting the control dial to the RUN position will activate the irrigation timer controller programming that you set. The RUN dial position should be used for normal and automatic operation.
It might seem overwhelming to program your irrigation timer controller, but with a little practice, it’s nothing more than a few buttons and dials. We suggest you figure out the schedule first, write it down on a piece of paper and then follow this tutorial one step at a time.
Share this post
© 2024 · Main Street Lawn Care and Landscaping, LLC

